The Website Settings allow you to configure how your journal’s website looks and operates. It consists of tabs for Appearance, Information, Archiving, Languages, Plugins, Announcements, and Navigation Menus.
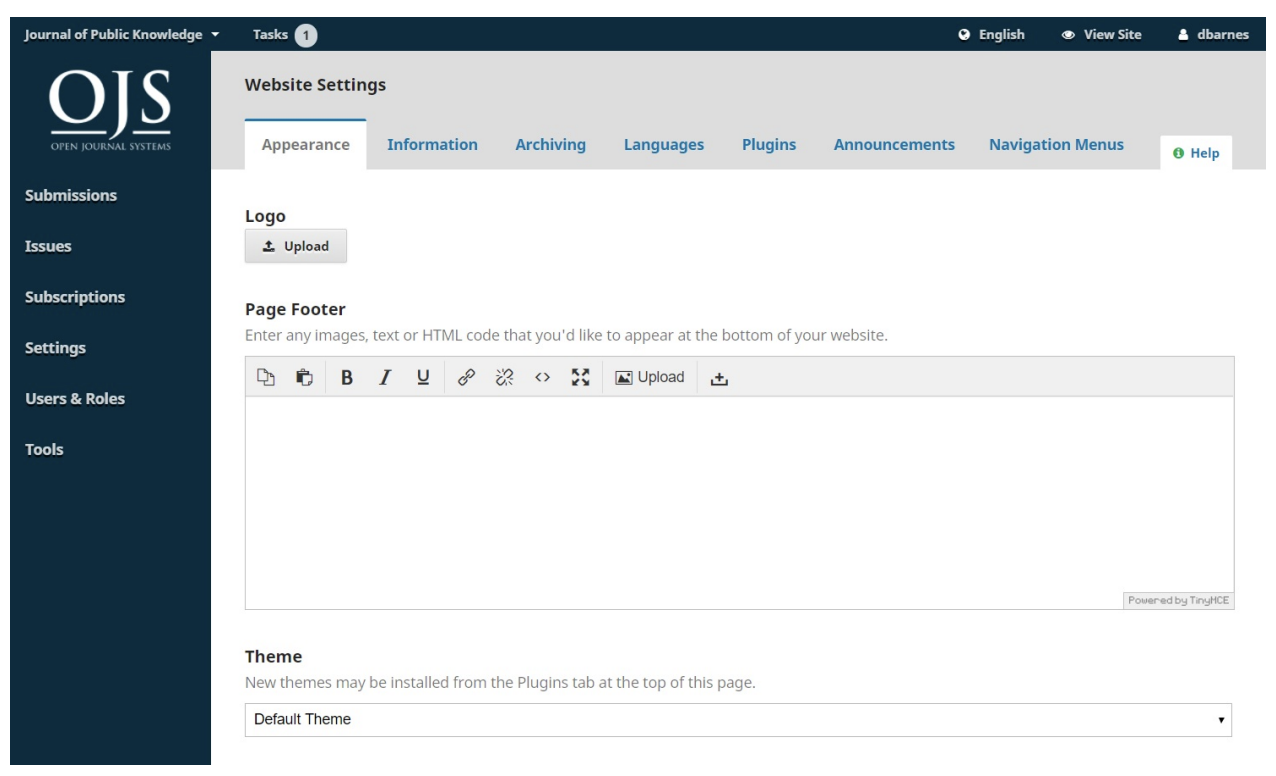
Appearance
Logo: Use this space to upload a journal logo to the upper left corner of your reader interface.
Page Footer: This allows you to display text at the bottom of each page of your website.
Theme: As new themes become available, you can enable them here.
Typography: Quickly choose the fonts for your journal.
Colour: Quickly change the colour of your journal’s header.
Journal Style Sheet: Use this to upload a unique style sheet for your journal.
Sidebar Management: This allows you to move different blocks in or out of the sidebar in the reader interface.
Homepage Image: Uploading an image here will will place it on your journal’s home page.
Journal Favicon: Add a favicon to display in the reader’s browser address bar.
Additional Content: Any text entered here will appear on your homepage.
Lists: Limit the number of items (for example, submissions, users, or editing assignments) to show in a list before showing subsequent items in another page. Also, limit the number of links to display to subsequent pages of the list.
Journal thumbnail: Upload a small logo or image representative of the journal that will be used in lists of journals on this OJS installation. This will only be used on OJS installations with multiple journals.
Hit Save to record your changes.
Information
Use these fields to modify the text in the For Readers, For Authors, For Librarians pages on the journal website.
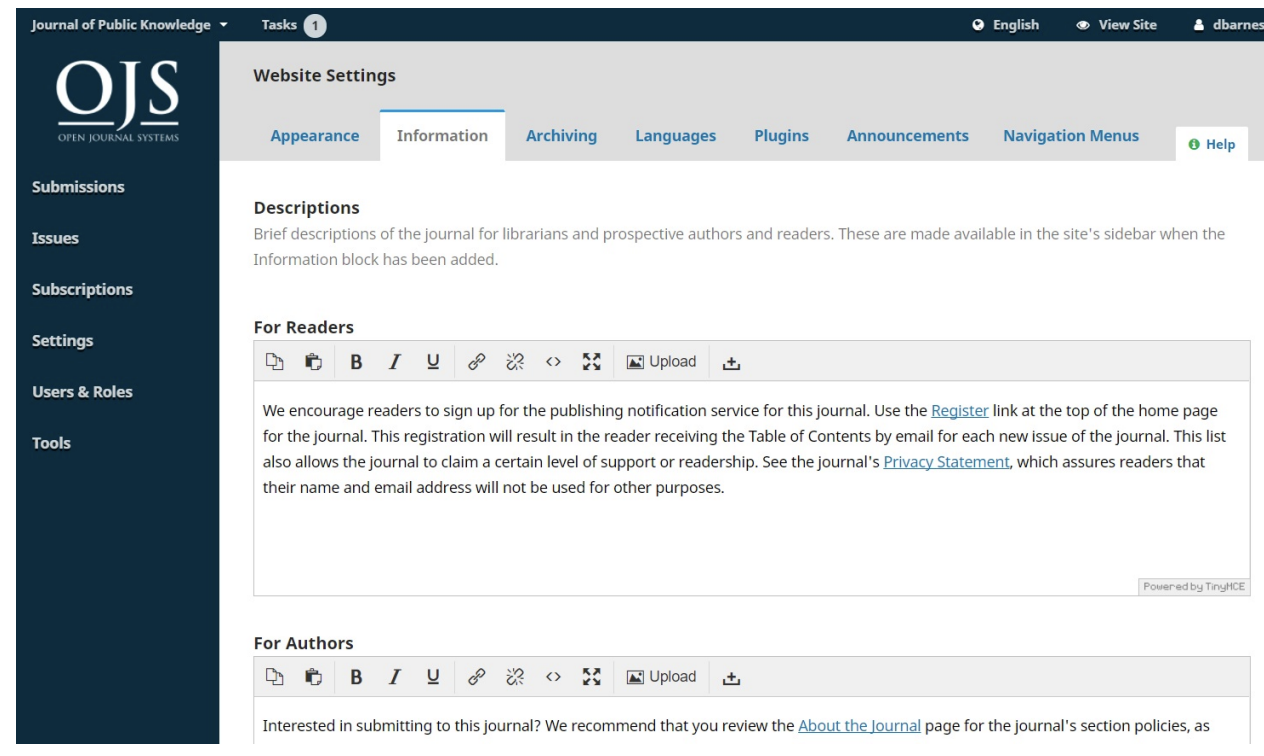
Remember to hit Save to record any changes.
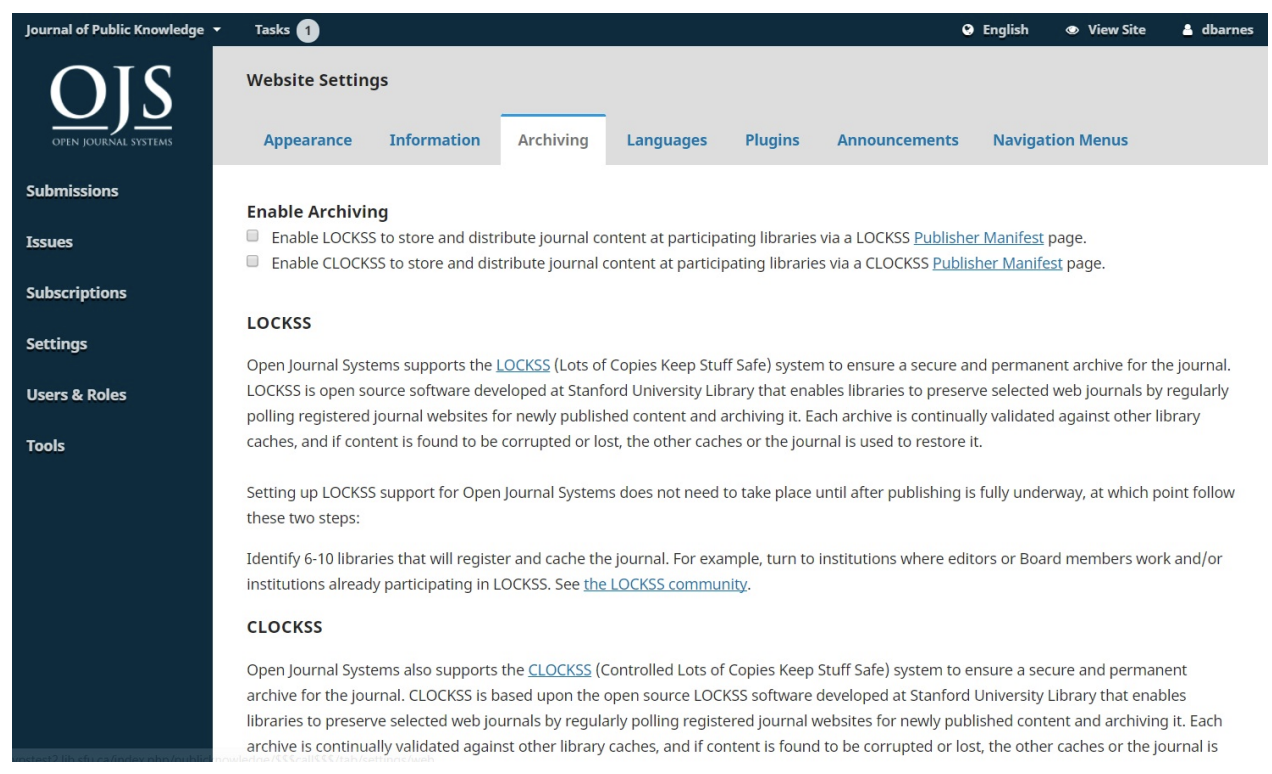
Archiving
If you are a member of a LOCKSS or CLOCKSS network, use this page to activate your journal.
Languages
Use this page to configure the languages used by your journal.
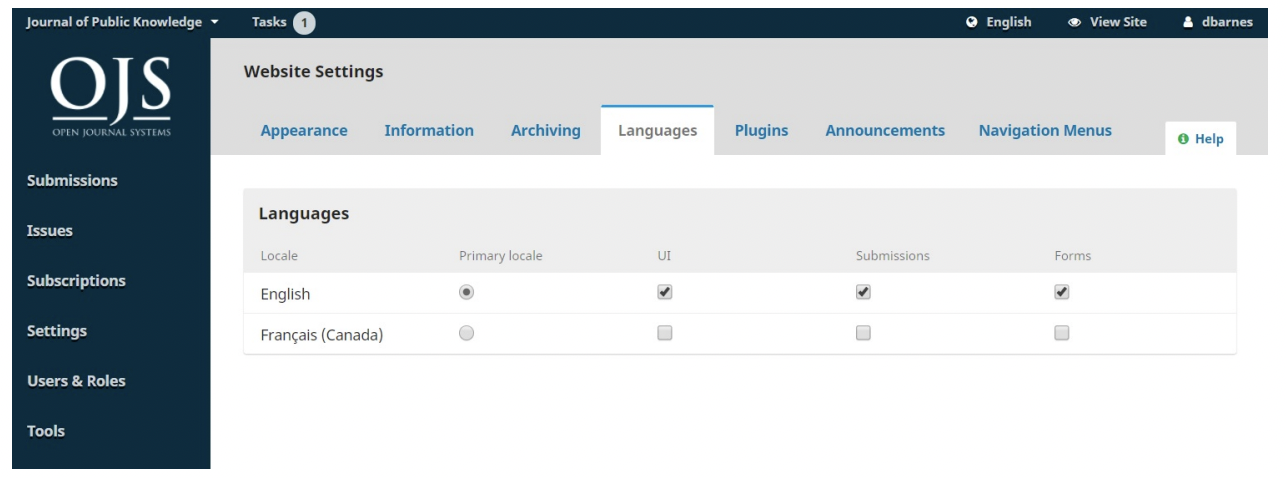
Primary Locale: One language must be set as primary.
UI: This will enable all selected languages to appear on the reader interface.
Submission: This will enable all selected languages to be available to submitting authors.
Forms: This will enable all selected languages to be available when filling in online forms.
If a language is unavailable on this page, contact the Site Administrator to add it for you.
Plugins
Use this page to see all of the installed plugins and find new plugins.
Installed Plugins
All of the plugins listed here are available in your OJS installation. Use the Enable link to use them

You will notice that some plugins are required for the system and cannot be disabled.
Plugin Gallery
The Plugin Gallery provides access to externally-created plugins, that may not be included in your OJS installation, but are available for download and activation.
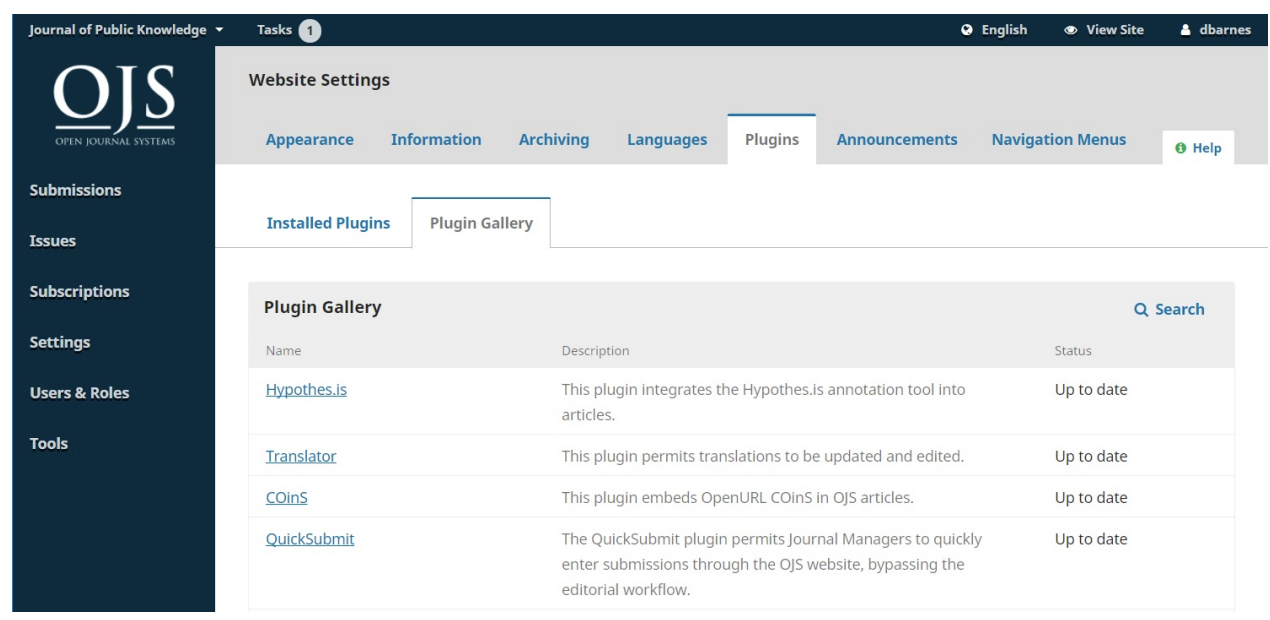
Selecting the plugin title will provide additional details, including the author, status, description, and compatibility. Only an Administrator user can install a new plugin.
Announcements
This section allows you to create and display news announcements on the journal’s website.
Announcements: Configure how announcements will appear on your journal website.
Announcement Types: You can create different types of announcements (e.g., News, New Issue Alert, etc.).
Use the Add Announcement Type link to create them.
Announcements: Use the Add Announcement link to create a new announcement for your Announcements page.
Navigation Menus
This section allows you to configure your navigation menus, such as including new links.
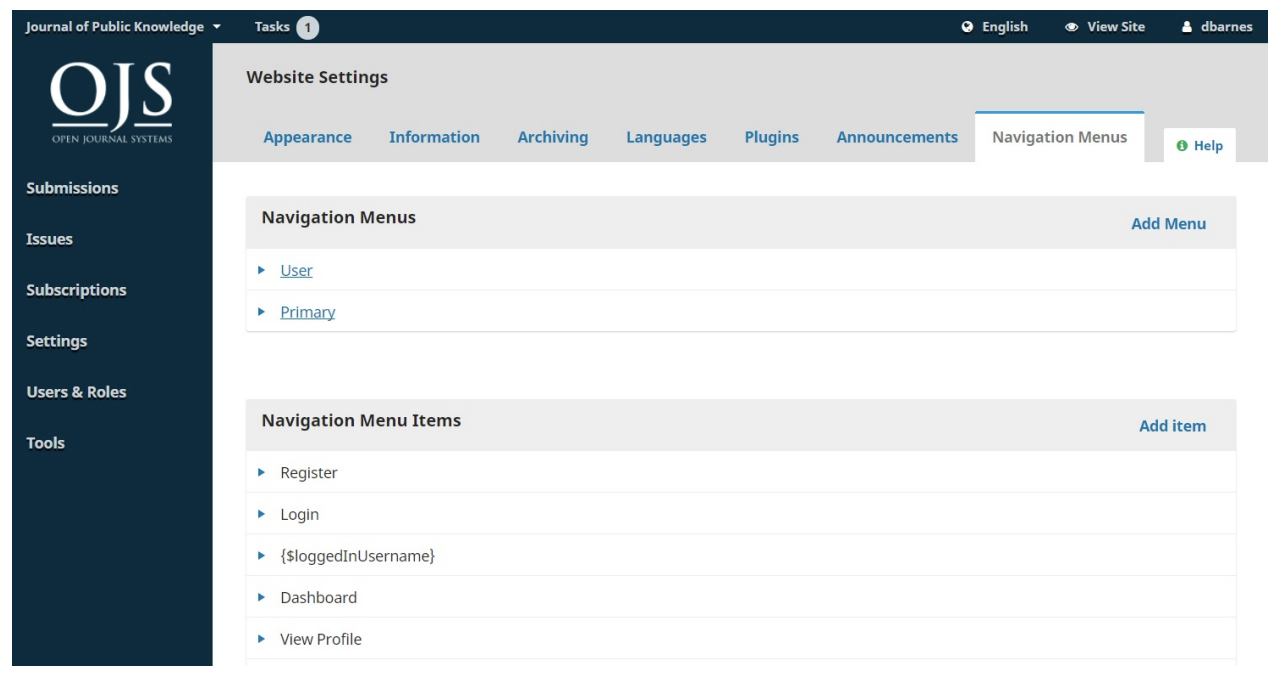
Navigation Menus: Configure the User Menu (which includes Language, View Site, and Username) or the Primary Menu (on the journal home page, including Current, Archive, About, etc.).
Navigation Menu Items: These are programmed links you can add to either menu above. If you wish to add a link to the Primary Menu (e.g., “Our Society”), add it here using the Add Item link.
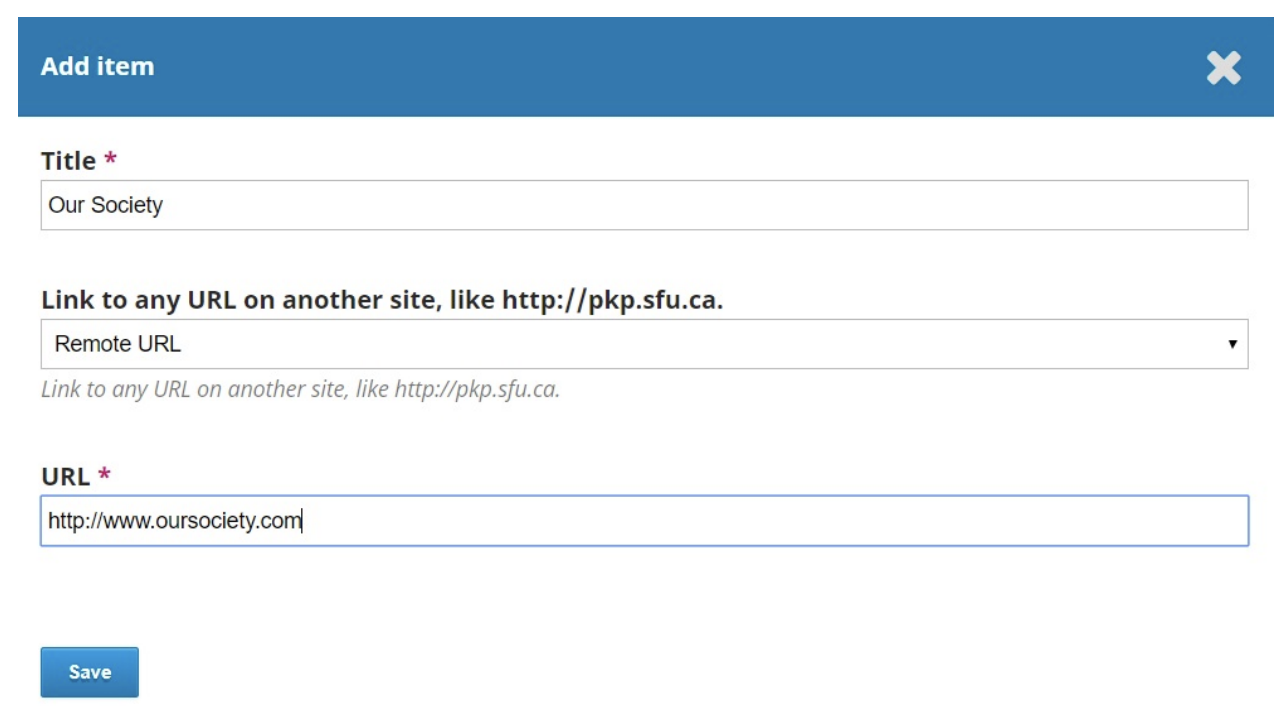
It will now appear in the list of Navigation Menu Items. Next, go to the desired Navigation Menu (e.g., Primary), use the blue arrow to reveal the options, and choose Edit. You can now drag and drop it from Unassigned Menu Items to Assigned Menu Items and into the appropriate location on the menu.
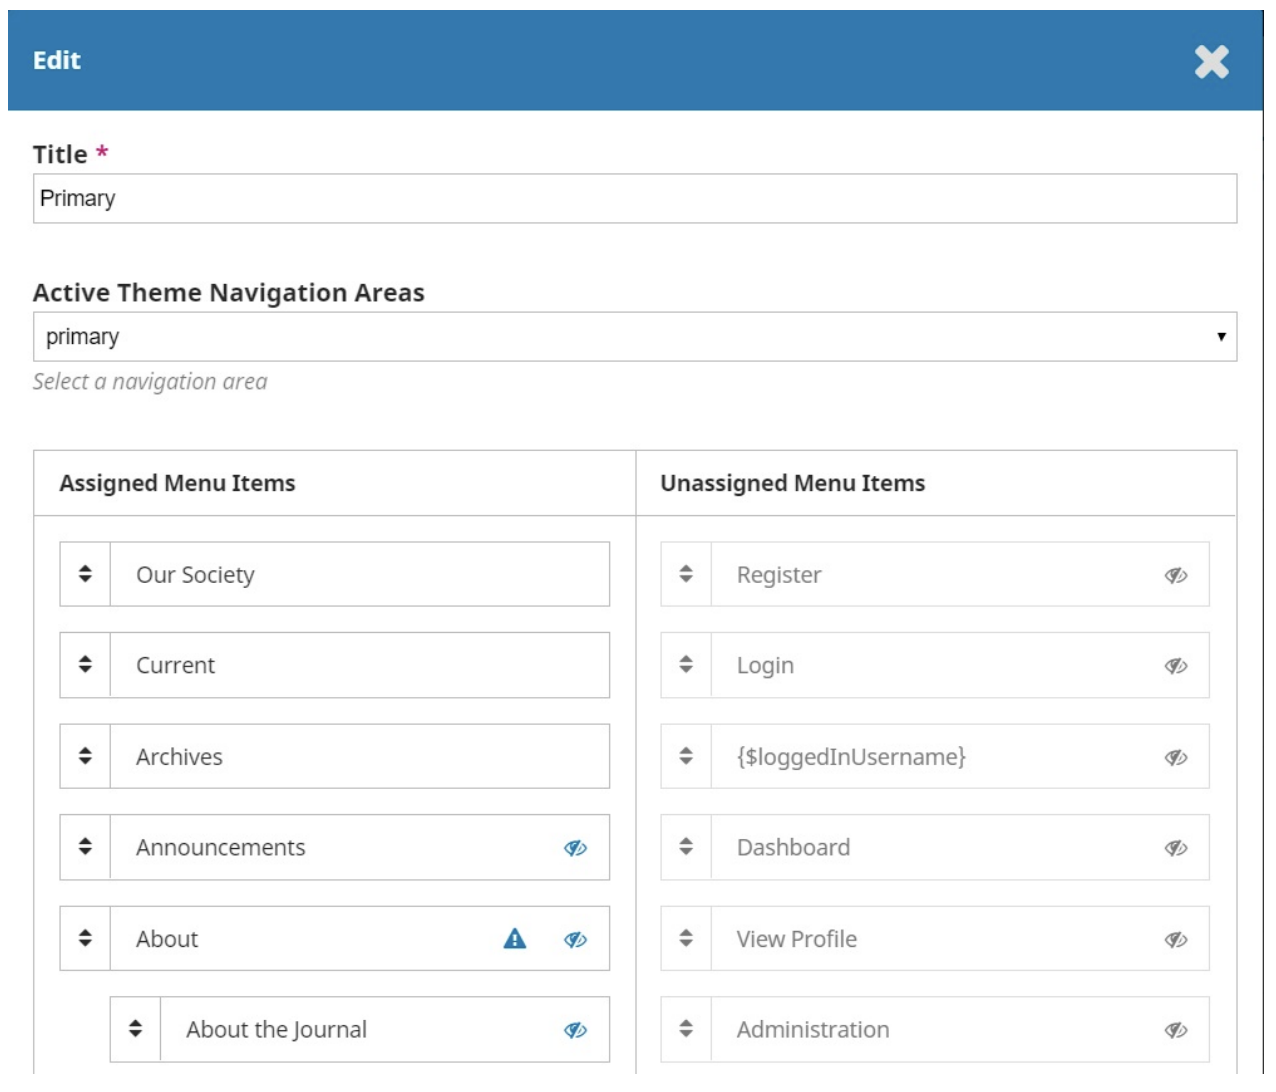
Hit Save to record the change.

Comments are closed